How to create a new grade for a company
Overview
Creating a new grade in RMS is a simple and controlled process that allows you to tailor your grading scale to match internal operational needs. Once saved, the new grade becomes immediately available for use across grading activities, helping ensure consistent, transparent, and accurately tracked product assessment.
How to create a new grade for a company
- Log in to Returns Management System (RMS).
- On the sidebar menu, click Settings. A dropdown list of setting properties appears below Settings.
- Click Company Configuration. The Settings: Company Configuration page appears on the right.
- In the companies list table, click the Edit (Pen) icon for the company for which you want to create a new grade.
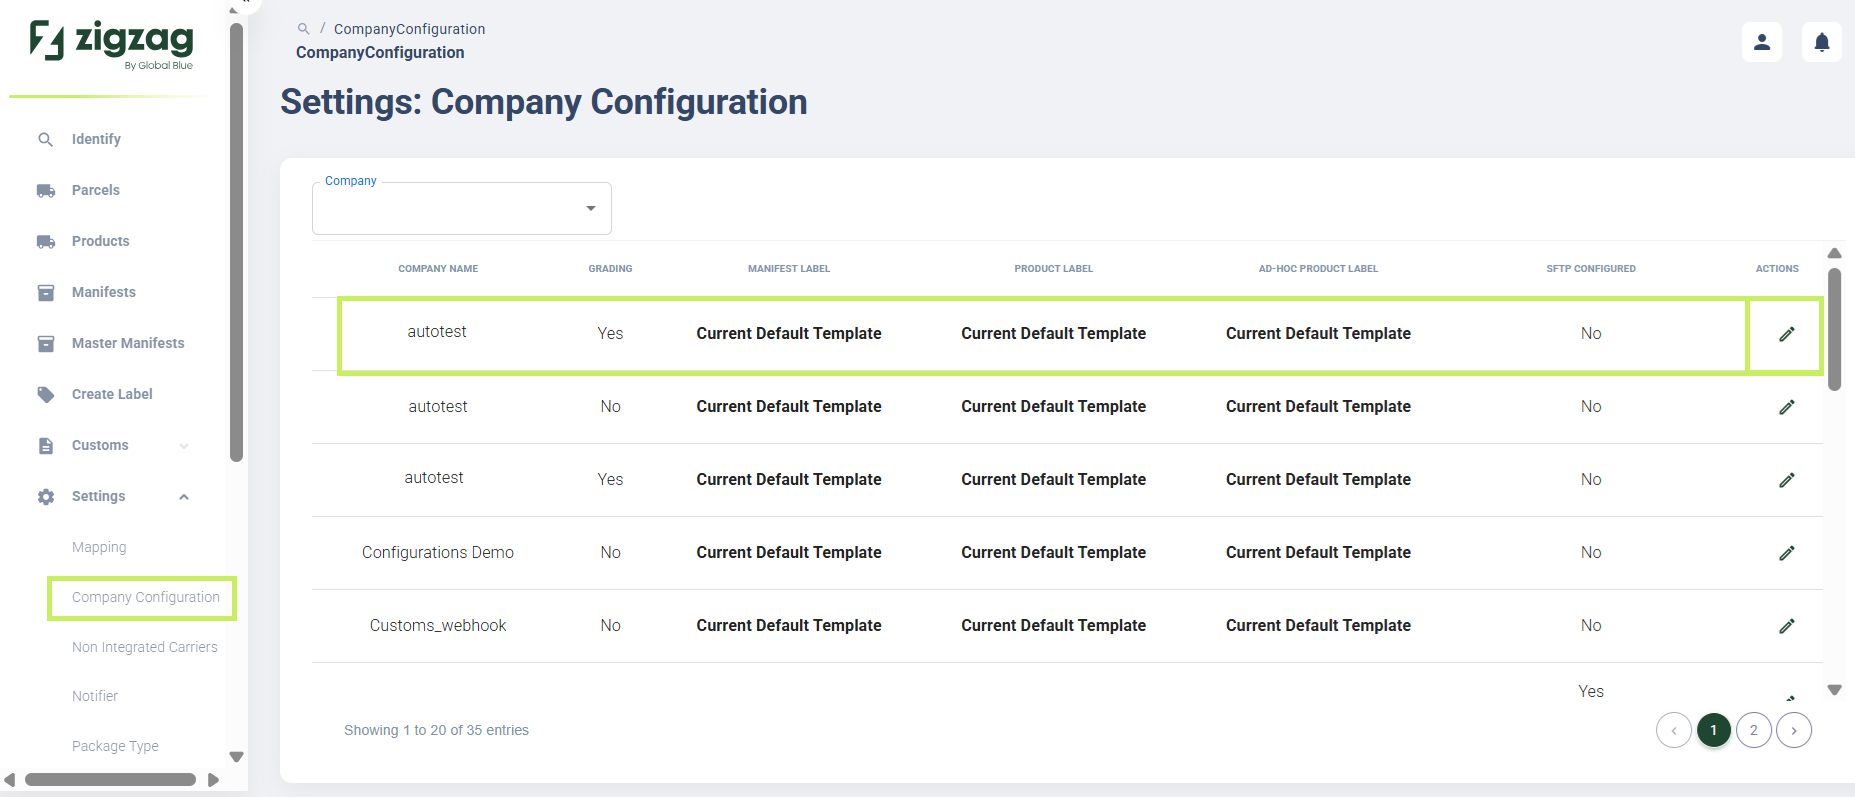
The company page apppears.
5. Select the Grading tab. The Company grading page appears.
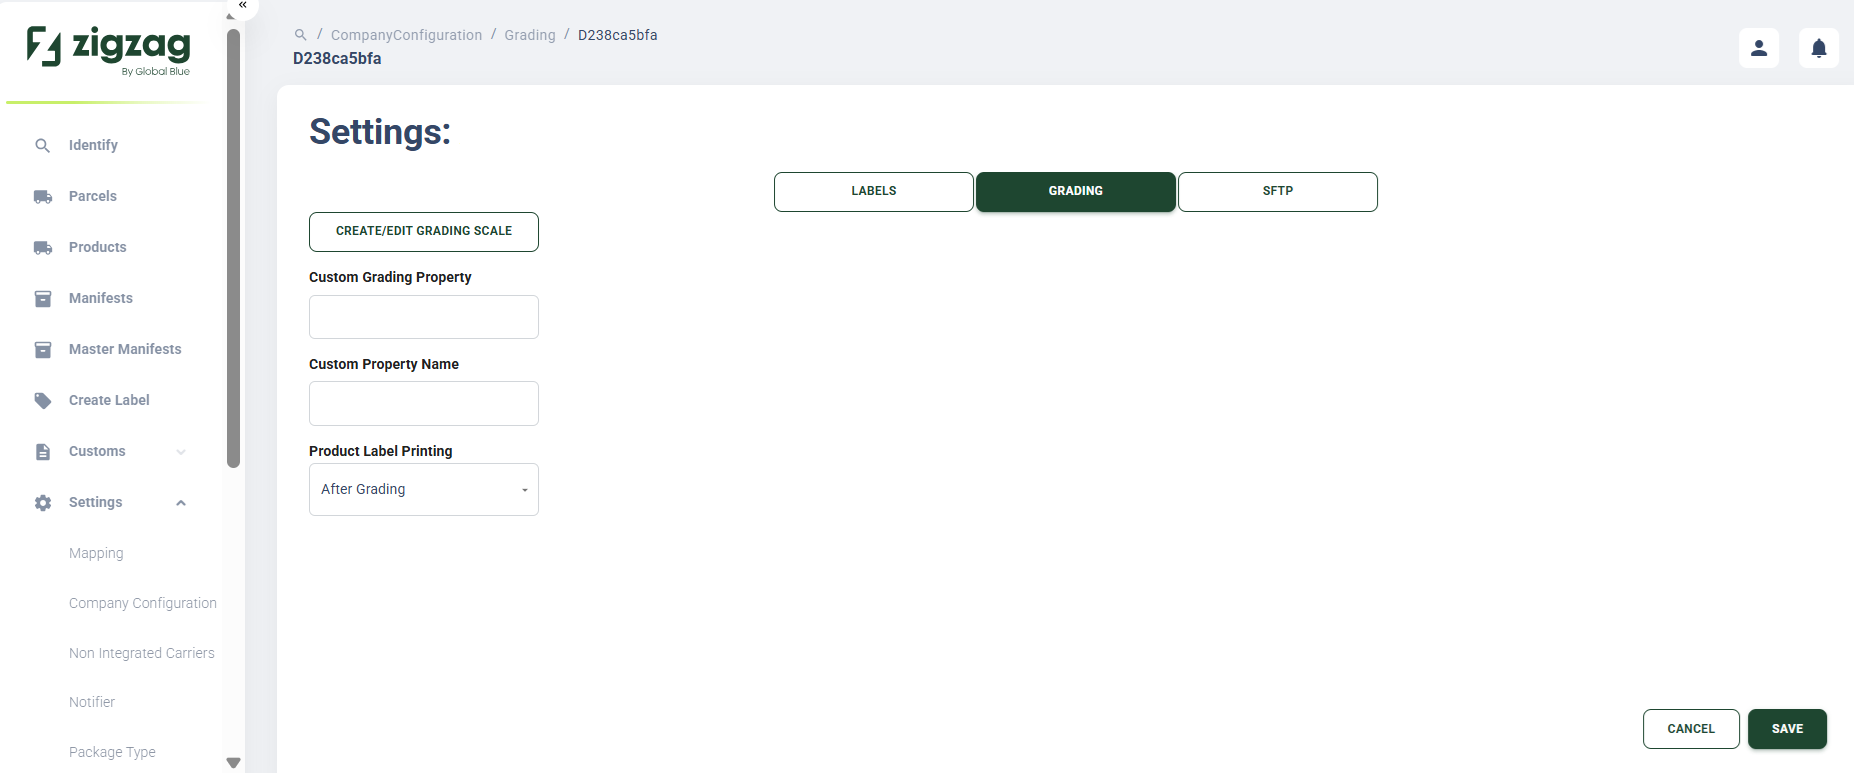
- On the Company grading page, click Create/Edit grading scale button.
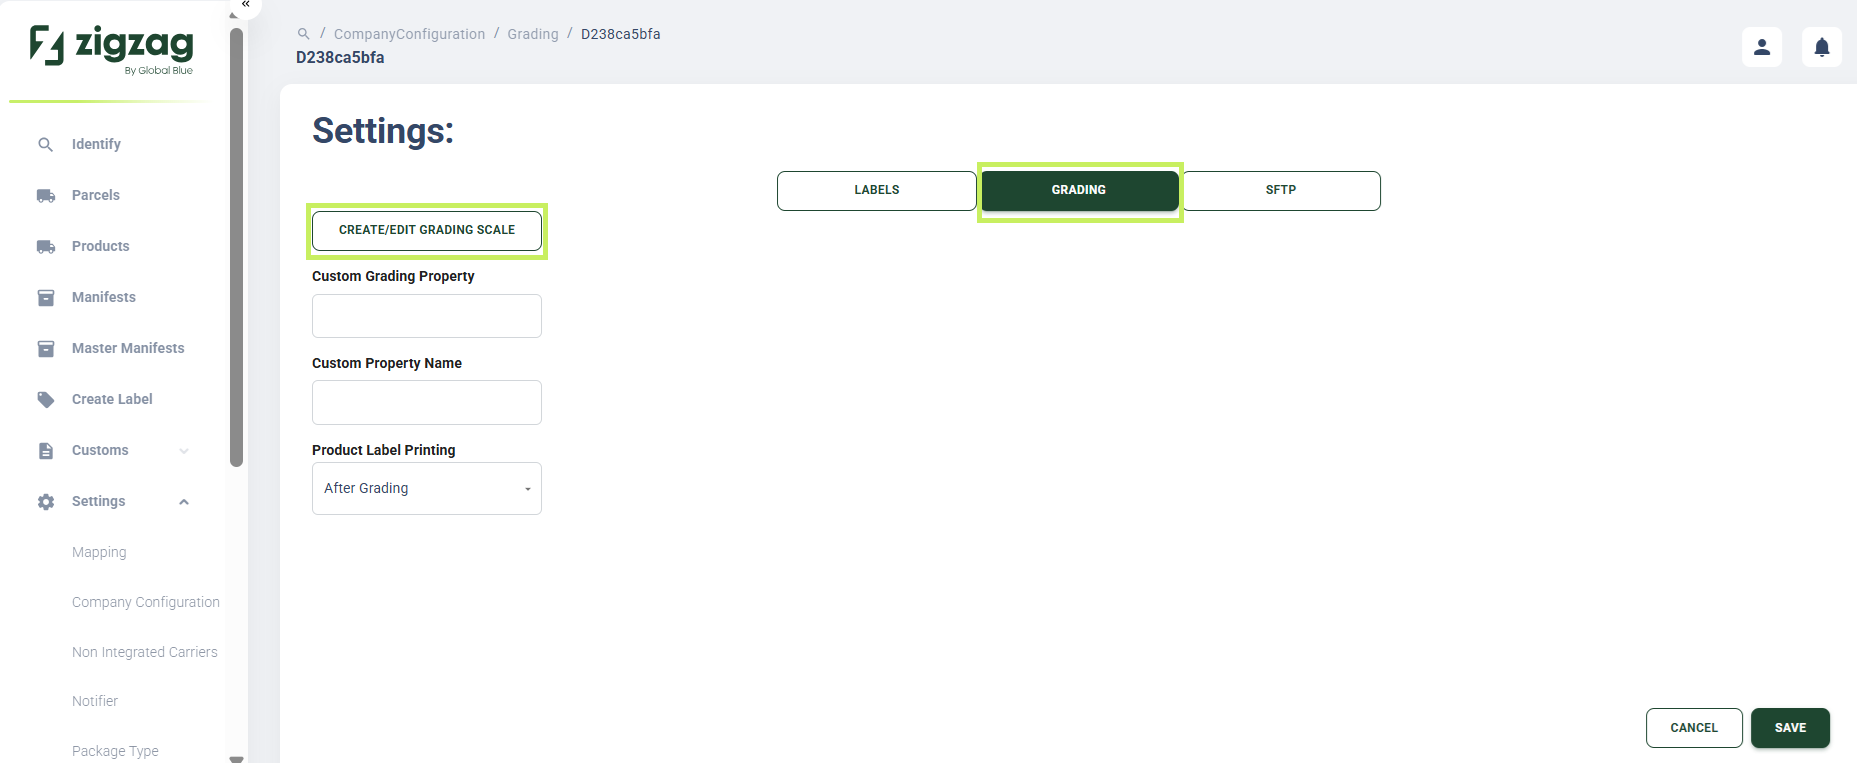
The Settings: Grading page appears.
7. On the Settings: Grading page, click the Create grade button.
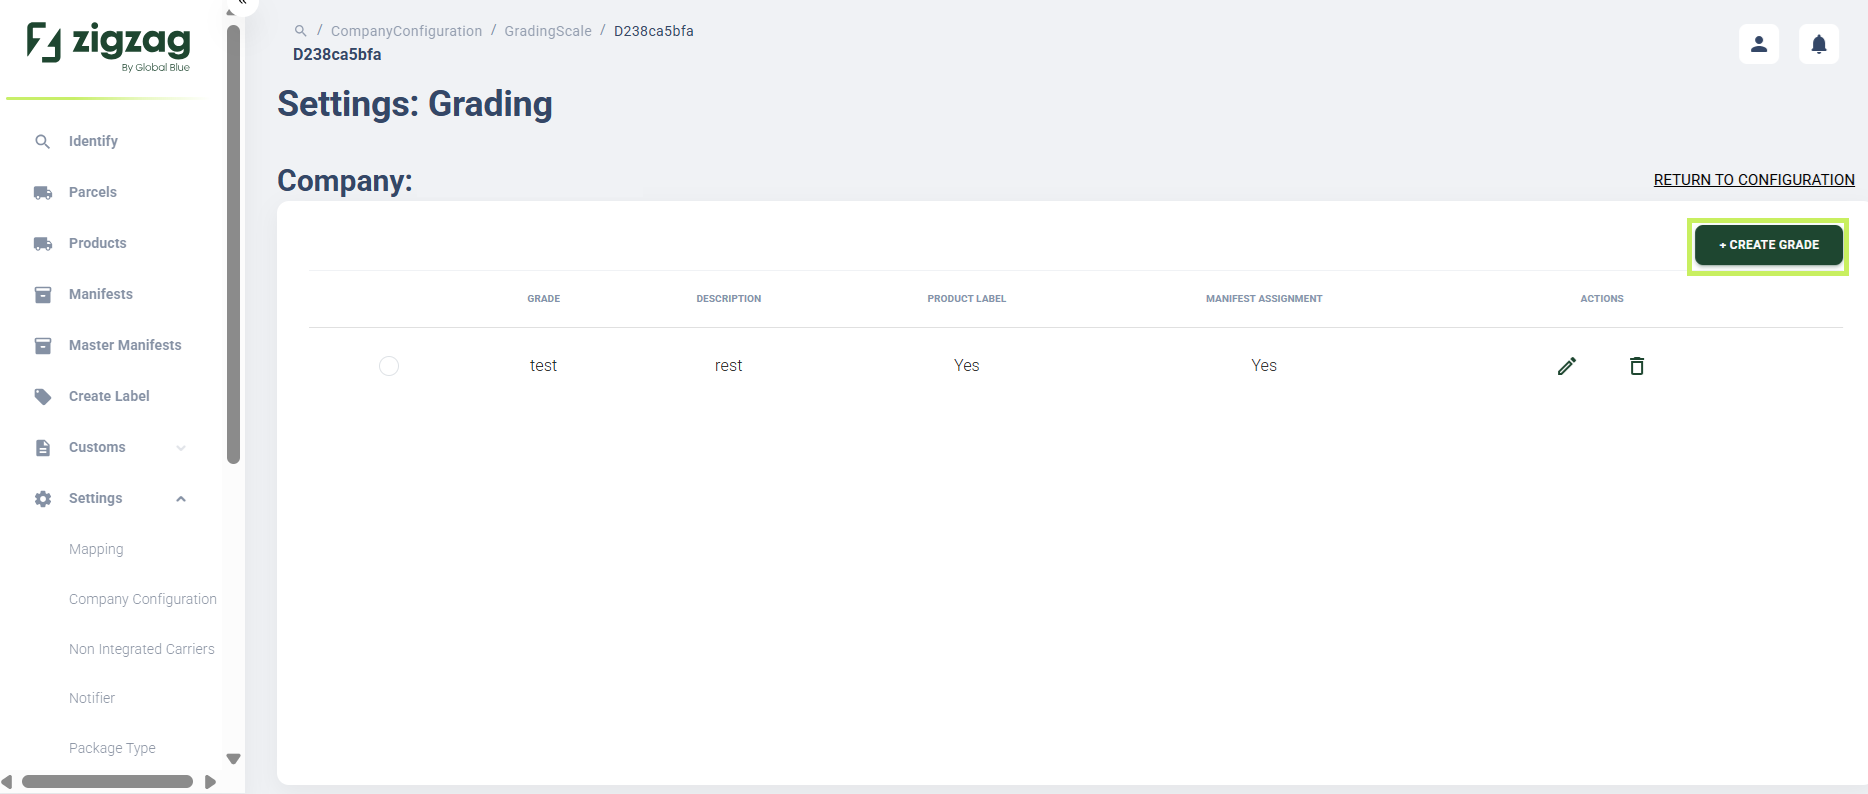
The Create grade dialog window appears.
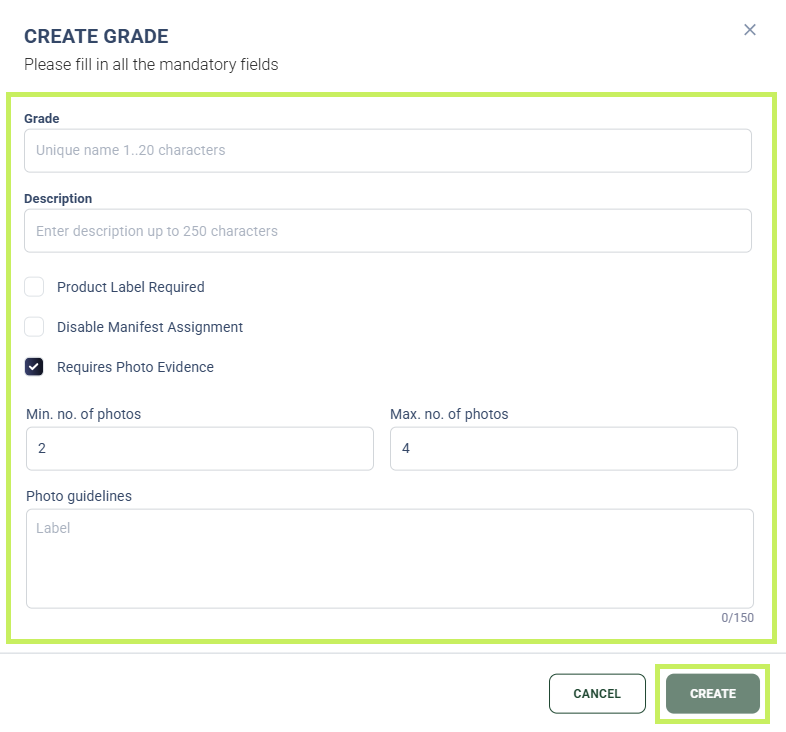
- In the Create grade dialog window, fill in the following fields:
- Grade name
- Description
- Product Label required - check the checkbox if you want the products with this particular grade to require a product label
- Disable Manifest Assignment - check the checkbox if you don't want products with this grade to be assigned to manifests.
- Requires Photo Evidence - check the checkbox if you want the products with this particular grade to require photo evidence.
- Minimum and maximum number of required photos - specify the minimum and maximum number of the required photos
- Photo guidelines - write additional guidelines for the required photos
- Click Create.