How to create a number range
Overview
Creating a number range in RMS is a simple way for you to ensure parcels are automatically routed to the correct warehouse based on the identifiers within their barcodes. The feature allows you to define a destination warehouse, select the relevant product or service, and set the numeric start and end values that make up the range. RMS validates the inputs - ensuring values are numeric, correctly ordered, and non‑overlapping - so you can confidently configure routing rules that keep returns flowing smoothly and accurately.
How to create a number range
- Log in to Returns Management System (RMS).
- On the sidebar menu, click Settings. A dropdown list of setting properties appears below Settings.
- Click Identifier Ranges. The Settings: Identifier Range Management page appears on the right.
- On the Settings: Identifier Range Management page, click the Create range button.
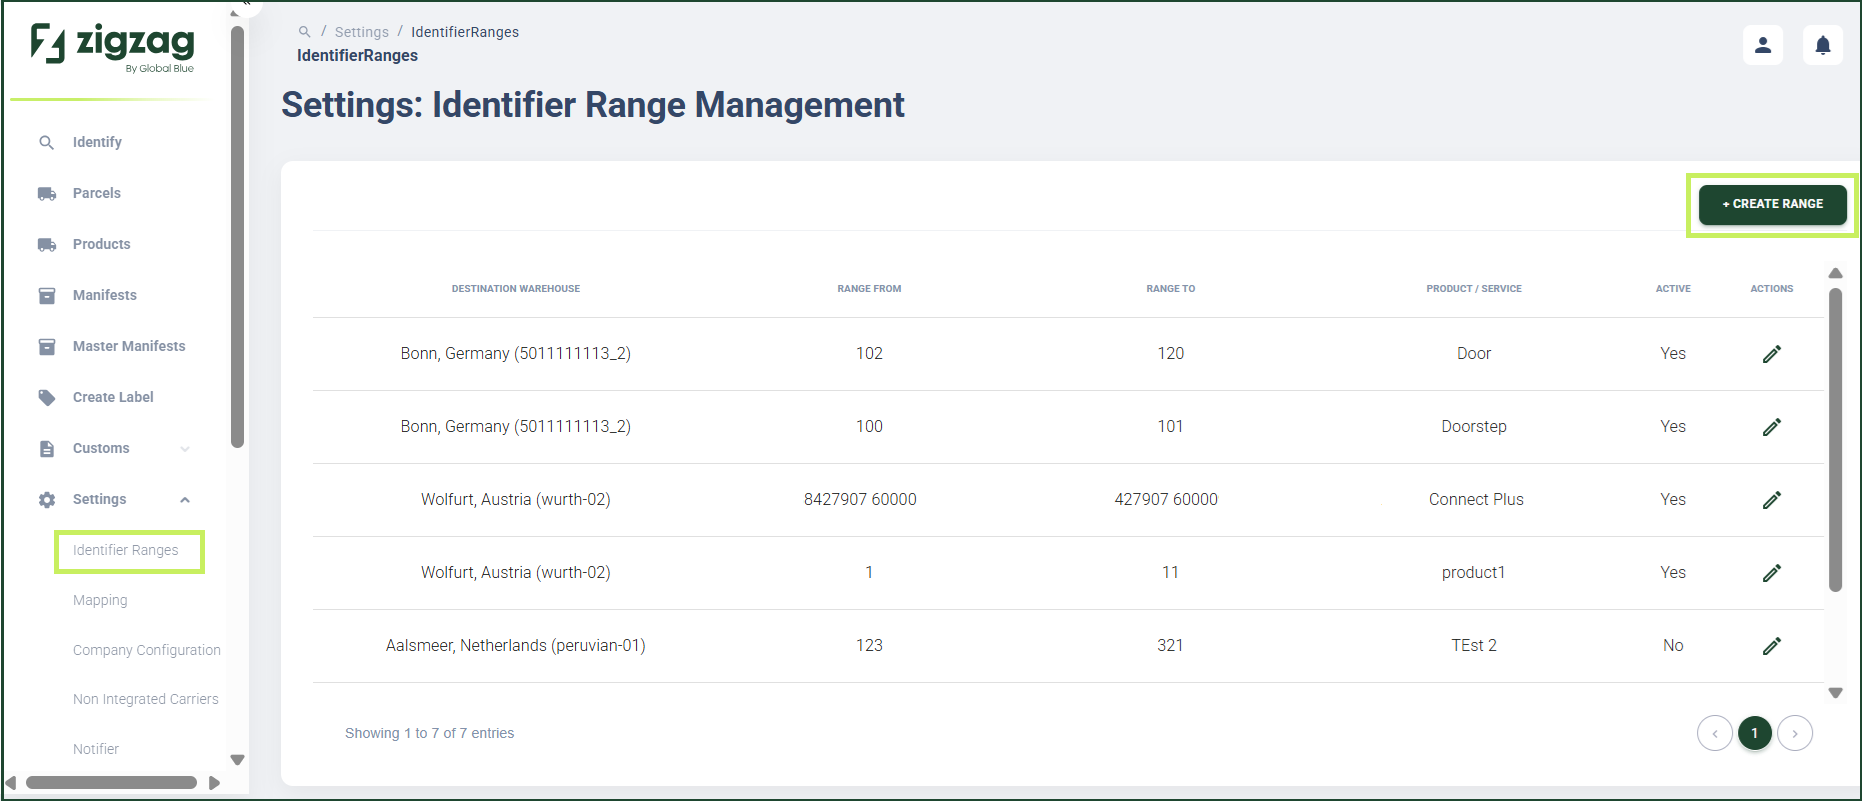
The Create number range dialog window appears.
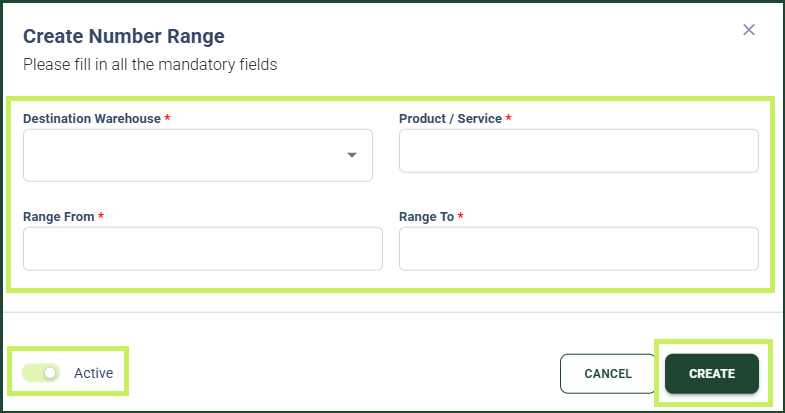
- In the Create number range dialog window, fill in the following fields:
- Destination warehouse - from the dropdown menu, select the destination warehouse for the route
- Product/service - fill in the service the route uses
- Range From - fill in the start of the numeric barcode range
- Range To - fill in the end of the numeric barcode range
- Active / Inactive toggle - switch the toggle to Active to make the identifier range available for operational needs
- Click Create.