How to configure tenant settings
Overview
RMS enables precise configuration of tenant settings by allowing you to tailor operational parameters such as parcel search filters, return processing rules, retailer order handling, search time limits, label‑printing configurations, and others.
How to configure tenant settings
- Log in to Returns Management System (RMS).
- On the sidebar menu, click Settings. A dropdown list of setting properties appears below Settings.
- Click Tenant. The Settings: Tenant page appears on the right.
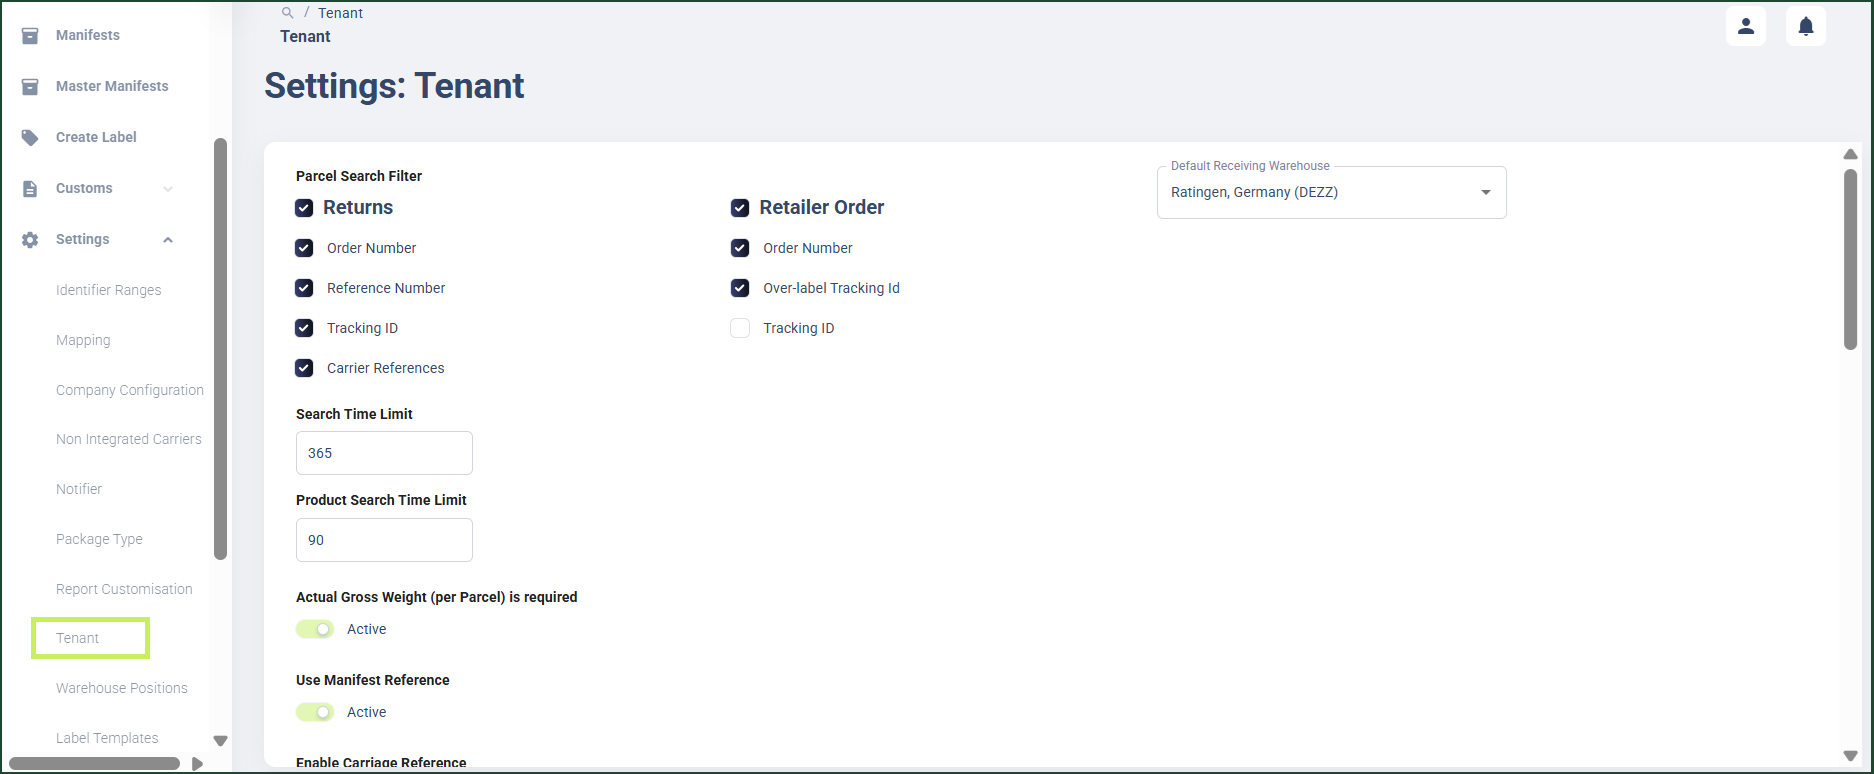
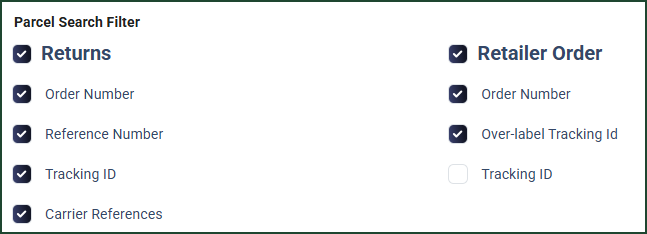
- On the Settings: Tenant page, in the Parcel Search Filter section, check the radio button for at least one of the two main filter items:
- Returns
- Retailer Order
- Under the main filter item/s you checked, check the radio button for at least one sub-filter item. The options are:
- For Returns main filter item: Order Number, Reference Number, Tracking ID, Carrier References
- For Retailer Order main filter item:Order Number, Tracking ID, Overlabel Tracking ID
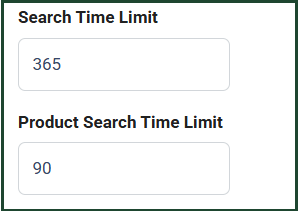
- In the Search Time Limit and Product Search Time Limit field, fill in the time period (in days) for which you want RMS to display data after a tenant's parcel and product search.
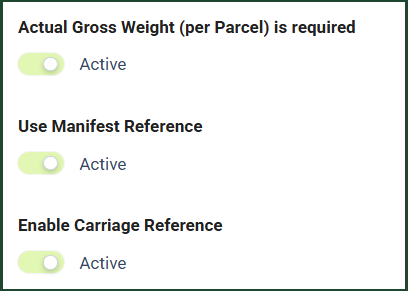
- Check the Actual Gross Weight per Parcel toggle to make it active if you want actual gross weight per parcel to be required.
- Check the Use Manifest Reference toggle to make it active if you want Manifest Reference to be visible for users.
- Check the Enable Carriage Reference toggle to make it active if you want Carriage Reference to be visible and required for users.
note
When Carriage Reference is activated for a tenant:
- A Carriage Reference field is displayed on the Manifest Details page.
- You can enter and update the value while the manifest is open.
- The value is validated at manifest closure and must be provided to close the manifest.
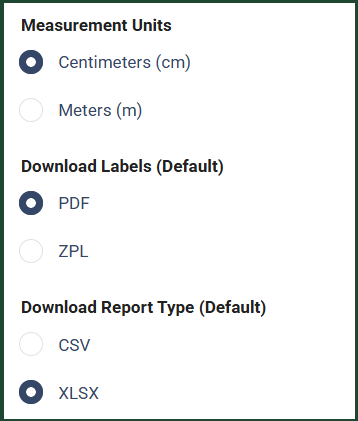
- In the Measurements Units section, check the radio button for the measurement unit you want to be available for a tenant. There are two options:
- Centimeters (cm)
- Meters (m)
- In the Download Labels section, check the radio button for the label type you want to be available for a tenant to download. There are two options:
- ZPL
- In the Download Report Type section, check the radio button for the report type you want to be available for a tenant to download. There are two options:
- CSV
- XLSX
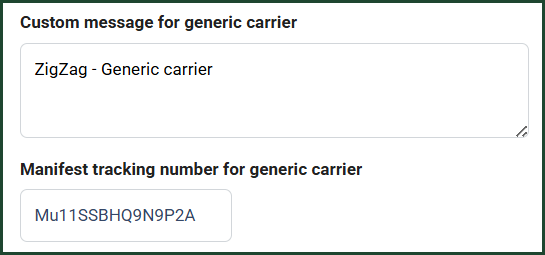
- In the Custom message for generic carrier field, fill in a generic carrier message tailored to the retailer's standards.
- In the Manifest tracking number for generic carrier field, fill in a generic manifest tracking number for the generic carrier tailored to the retailer's standards.
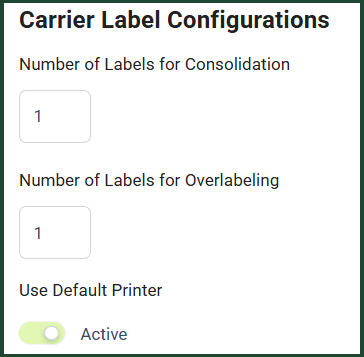
- In the Carrier Label Configurations section, fill in the following fields:
- Number of Labels for Consolidation - fill in the number of labels you want to be printed for consolidation
- Number of Labels for Overlabeling - fill in the number of labels you want to be printed for overlabeling
- Use Default Printer toggle - switch it on to make the use of the default printer active.
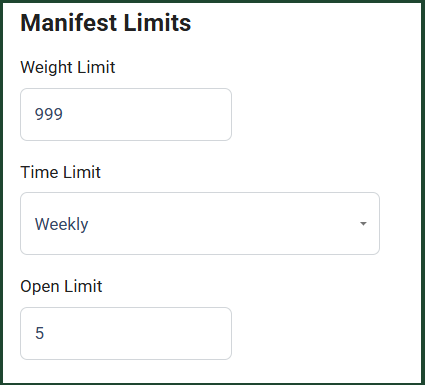
- In the Manifest Limits section, fill in the following fields:
- Weight limit - fill in the weight limit for manifests in the warehouse
- Time limit - from the dropdown menu, select the time limit for manifests in the warehouse
- Open limit - fill in the number of time units (days, weeks, etc) a manifest can be open
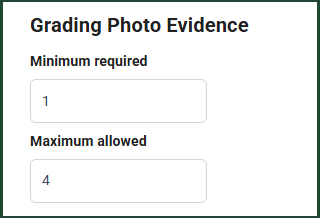
- In the Grading Photo Evidence section, fill in the minimum required and maximum allowed values for the photo limits when photos are required as an evidence for grading workflows.
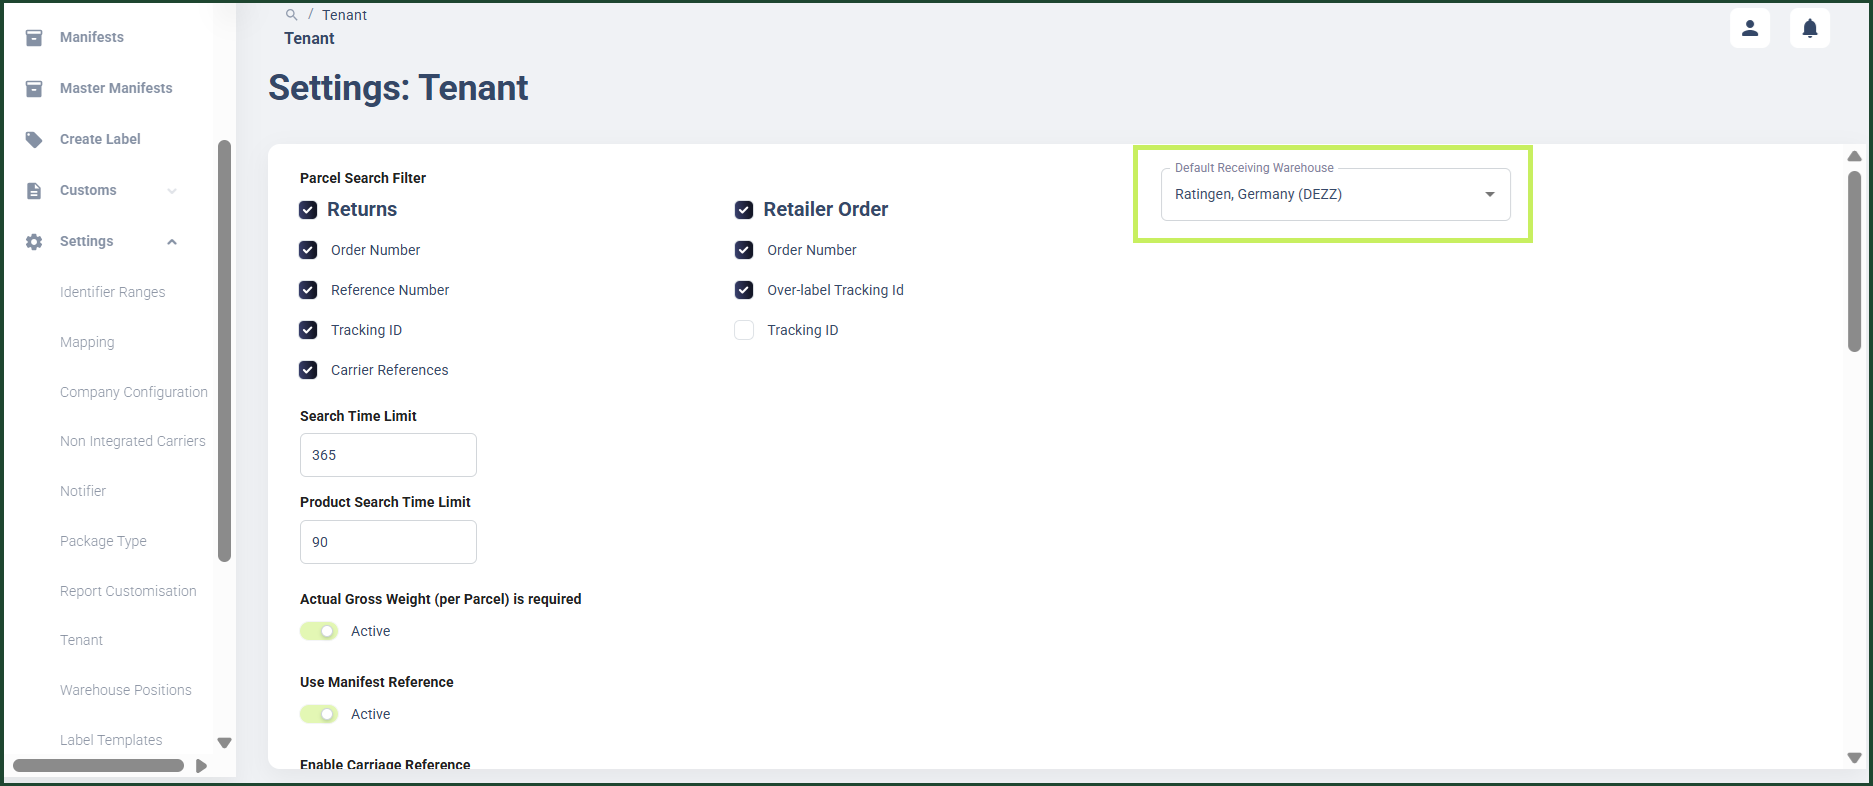
- From the Default Receiving Warehouse dropdown menu, select the default receiving warehouse for the tenant. This receiving warehouse is automatically applied when an RMS user is created via the User Management System.
- Click Save.