How to edit email templates
Overview
This page will guide you how to use the email template editor.
How to edit email templates
To access the email template editor:
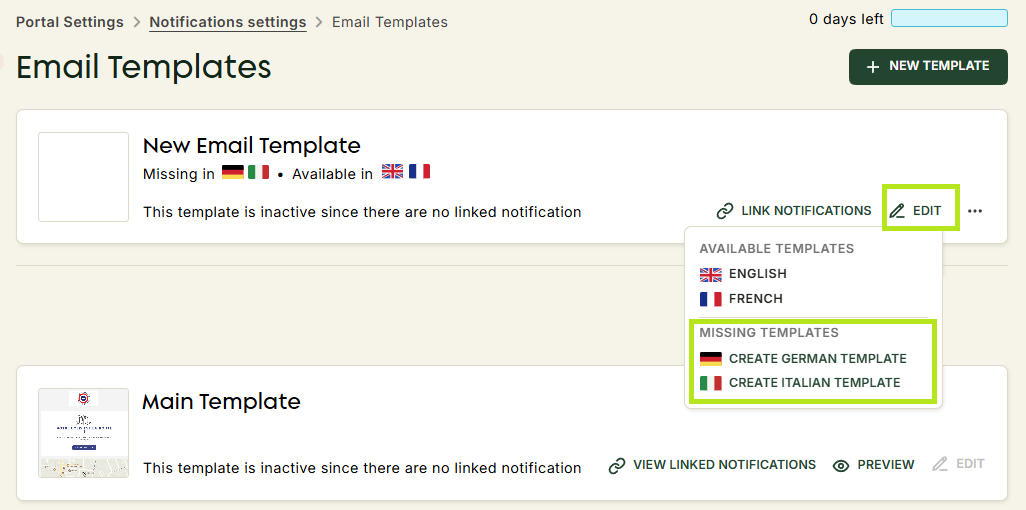
- Navigate to Portal Settings -> Notification Settings -> Email Templates.
- Click Edit next to the required template.
- Select the language for which you would like to edit the template.
 .
.
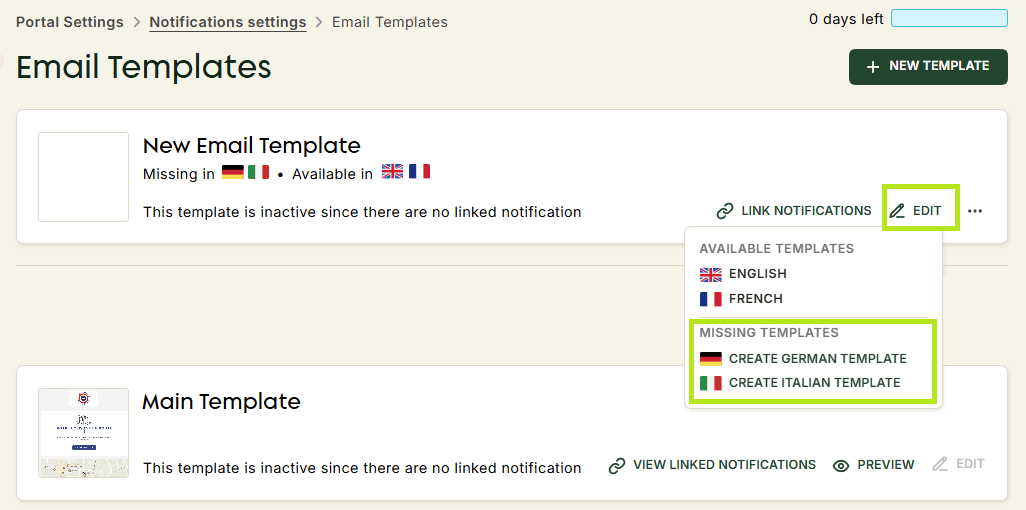
The email template editor is organised into three navigation levels:
Content
The content section lets you add and customise various components, such as text, images, buttons, dividers or icons.
Each component can be tailored in terms of style, colors and layout to match your brand’s identity. To add content:
- Drag and drop the type of content you'd like to add (an image, text, button, etc)
- Duplicate one of your content blocks by clicking on the duplication icon below every block.
When adding images, please use JPEG, PNG or GIF files.
You modified something and want to go back - simply click on the back and forth arrow on the right corner of your editor.
Rows
Rows help you organise the layout of your email template. By default, you will have ZigZag components, which are pre-designed blocks ready to go. You can modify these content blocks to fit your branding, or add layout blocks and add your own content for each.
Settings
The settings section allows you to modify global properties of your template, such as the background color, font used, or margins.
These settings apply to the entire template and help ensure visual consistency across your emails.
Preview your templates
The preview feature allows you to see how your email templates will look in different scenarios:
- Preview your email on a desktop or mobile
- Use the dropdown menu to select a notification and view how the template adapts to each case.
You can send the preview to an email address for a final review. Now you are ready to link your template to notifications.